Compact10 C10 Power Brake Booster Kits
VEHICLE Shop By
Compact10 – Power Brakes for Your 67–72 C/K 10 Trucks
To view all of our Compact10 Power Boosters click here.
Upgrade the braking performance of your 1967–72 Chevrolet & GMC C/K 10 truck with LEED Brakes' Compact10 Power Brake Booster Kits. Designed for superior clearance and improved fitment, these power brake booster kits offer a more compact design—ideal for trucks with aftermarket wheel wells or larger engine configurations.
Compact10 Brake Booster Features:
- Available in 7-inch and 8-inch dual diaphragm configurations for increased braking power.
- Includes a 1-1/8" bore master cylinder for optimal fluid distribution.
- Choice of yellow cadmium plating with a cast iron master cylinder or full chrome with an aluminum master cylinder.
- Options for disc/drum, 4-wheel disc, or fully adjustable proportioning valves for a custom setup.
Enhanced Design for Better Fitment
The Compact10 brake booster is designed to sit at a more natural angle and is three inches shorter than stock-style boosters. This compact size improves engine bay clearance, allowing for a cleaner installation without sacrificing braking performance.
C10 Brake Booster Vacuum Solutions
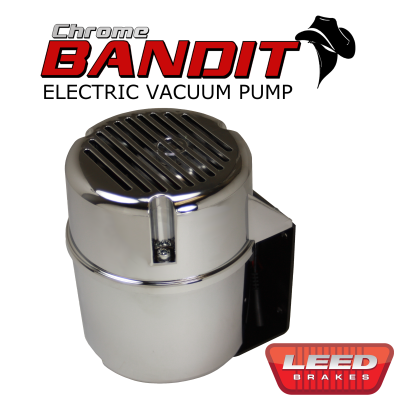
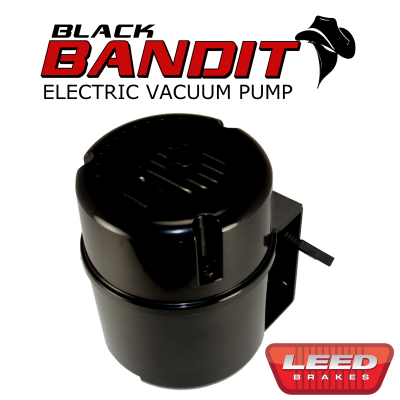
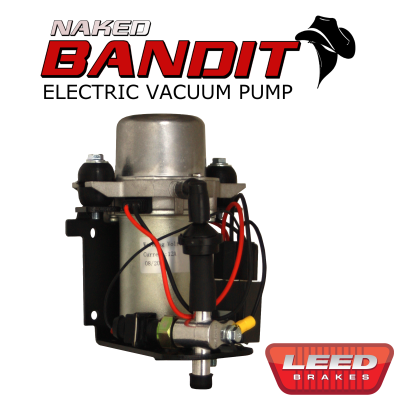
If your C10 power brake booster is experiencing low engine vacuum, LEED Brakes offers a solution! Our Bandit Series Electric Vacuum Pumps deliver:
- 60% quieter operation compared to piston-style pumps.
- 30% more efficient performance for rapid vacuum buildup.
- A factory-style look for seamless integration under the hood.
How to Test Your Brake Booster for Vacuum Leaks
Required Tool: Vacuum pump with gauge (available for rent or purchase at most auto parts stores).
Step 1: Check Initial Vacuum Level
- Disconnect the vacuum hose from the check valve on the booster.
- Attach the vacuum pump to the check valve and apply 20”Hg of vacuum.
- Let the booster sit for 5 minutes. If vacuum remains at 20”Hg, proceed to Step 2.
- If vacuum drops, the booster is faulty and requires replacement.
Step 2: Brake Pedal Test
- With 20”Hg of vacuum applied, press and release the brake pedal.
- A normal vacuum drop is 5–10”Hg.
- If vacuum remains at 20”Hg or drops to zero, the booster is faulty.
Step 3: Vacuum Stability Test
- Apply 20”Hg of vacuum again.
- Press and hold the brake pedal for 30 seconds.
- Vacuum should remain stable. If it drops continuously, the booster is faulty.
Find the Right Compact10 C10 Power Brake Booster for Your Truck
Use the Year, Make & Model search at the top of the page to browse our full selection of brake system upgrades for 1967–72 Chevrolet & GMC trucks.


